

The starting point as always is the background. The first thing is that I chose a black paper background to lower the look and feel to give a little mood. But a plain black background is a little boring by itself so I added a splash of slightly blue light to provide a separation of the product (in this case my favourite German beer mug) from the black background. I used a gridded snoot with a light blue translucent plastic cup inside, yes that's right, cup. I have learnt to make do with what I have when I don't have the thing I actually want. ;-)
Ok, so here is how it looks with just the background light:

Not quite what I wanted because the snoot, despite being gridded still gives some light spill onto the product. Had to fix that so I put a flag onto the snoot to keep the light from hitting the beer mug and then got this result:

Aha! That's much better, nice background light without spill, just what I was actually after. So on to the main light. I wanted a large light source here so I implemented my own advice to use the bounce technique to good effect and bounced my softbox off the wall to the left of the room. Worked out ok and got this result:

I was happy with that outcome, but the shadow on the right is a bit too dim in this shot so I needed a fill light which I got by shooting another softbox onto the opposite wall and with the power output turned down a little from where the main light was set. I set it up, fired off a test shot and had some direct spill from the softbox which I cured by setting up a large flag to prevent that and only have light from the wall hitting the beer mug. Now we have a nice (almost) final shot that I am happy with:
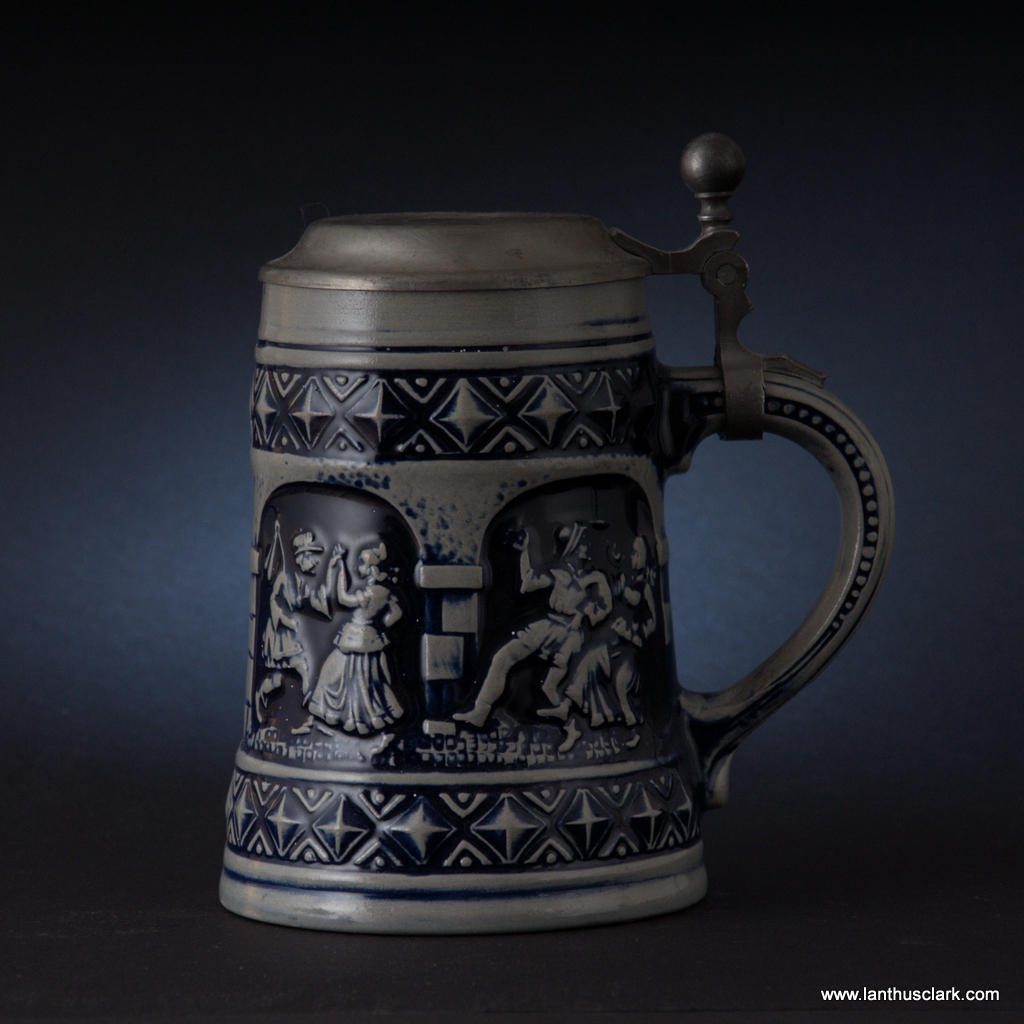
And here is the final shot again (shown at the top of this post) after a just a touch of post production in Lightroom 4:

That is about the way I envisioned it in my minds eye and through a little gradual setting up I have a result that I am happy with. For now. Next time... black perspex seamless background! :-)
Here is a setup shot so you can see where the lights were and how they were placed to achieve the look in the final pic above:

All fairly simple and set up in the lounge. A few suggestions, get lots of light stands, it's always a pain having too few for lights, backdrops, flags, etc. rather have a couple too many than have to start looking around the house trying to figure out if the broomstick would work. Second, get lots of clamps for backdrops, and whatever else you want to keep fixed to a light stand or table. I use some cheap plastic ones I purchased at the local supermarket. They look like this:

So all that remains is for you to get shooting! If you don't have studio lights then try out the same thing with your speedlights, they will give the exact same result. If you don't have enough speedlights then maybe just get a couple of cheap studio lights, they are much more powerful than the speedlights and a whole lot cheaper as well. For a small home studio Elinchrom have a nice little kit called the D-Lite RX ONE which is very affordable and cheaper than buying two Nikon or Canon portable flashes, and stands, and adapters, and softboxes, and wireless triggers... you get the idea.
Don't be afraid to experiment. Have fun!
No comments:
Post a Comment